Image Hosting Migration: From Yuque to GitHub, Hand-Held Tutorial
Continued from: 🚀 No course-selling! 10 minutes to launch a site that collects inquiries
In content creation and migration, we often hit a thorny problem: content exported from Yuque, Notion, and other note-taking platforms has image links protected by "hotlink protection". The moment you publish that content on your own site or blog, the images all break — you get the ugly "broken image" icon.
This article gives you the ultimate fix: use the powerful Markdown editor Story-Writer, paired with free and reliable GitHub as your image host, to bulk-migrate those protected image links in one click. The tutorial covers software installation, image host configuration, and live conversion — with detailed walkthroughs and screenshots for every pit beginners commonly hit. Follow along step by step and you'll get there.
1. Preparation: Download & Install
First, download and install Story-Writer. Pick the version for your OS.
Download links:
- Win64-bit: https://dd.laifa.xin/xsj-win64.exe (recommended for Windows with > 4GB RAM)
- Win32-bit: https://dd.laifa.xin/xsj-win32.exe
- macOS (Apple Silicon M1/M2/M3): https://dd.laifa.xin/xsj-osxarm.zip
- macOS (Intel): https://dd.laifa.xin/xsj-osx64.zip
【Special note for macOS M-series chip users】
If you're on an ARM Mac (M1/M2/M3), download the osxarm version. If it won't launch, open Terminal and run:
# Assuming you put the extracted folder in Downloads
cd /Users/your-username/Downloads/Story-writer-osxarm
xattr -cr ./Story-writter.app
This command removes the macOS quarantine attribute and lets the app run. The rest of the install is the same as any other app — skipping the details.
2. Basic Setup: Optimize Your Editing Experience
To make it easier to observe Markdown source and preview side-by-side, we recommend disabling Story-Writer's default WYSIWYG mode.
-
Open Story-Writer. In the status bar at the bottom of the editor, find and click "Modify editor config".

-
In the config popup, uncheck "WYSIWYG".

Now your editor shows Markdown source on the left and live preview on the right — the classic layout. This helps a lot when checking whether image links got correctly replaced.
3. Core Configuration: Binding the GitHub Image Host
This is the most critical — and most error-prone — step in the whole flow. We'll set up GitHub step by step, then bind it into Story-Writer.
Step 1: Open the Story-Writer Binding Settings
-
Click the gear icon in the bottom left of Story-Writer to open Settings.

-
In the settings menu, go to "Storage" → "Bind".

-
In the image hosts list, find and click
githubimgto configure.
Step 2: Get a GitHub Access Token
The Token is like a password for Story-Writer to access your GitHub repo — keep it safe.
-
On the
githubimgconfig screen, click the link next totoken— it takes you to GitHub's Token generation page.
-
Log into your GitHub account (Google sign-in supported).

-
On the "New personal access token" page, configure as follows:
- Note: name this Token for easy identification, e.g.
storywriter-token. - Expiration: set validity. Recommended "No expiration" or a long duration.
- Select scopes: most important step! You must check
repo, which automatically includes all sub-permissions.

- Note: name this Token for easy identification, e.g.
-
Scroll to the bottom, click "Generate token".

-
Copy and save the generated Token immediately! It's shown only once — once you leave the page, you can't see it again.

Step 3: Create and Initialize a GitHub Repo
This repo will be your online image storage.
-
On GitHub, click the "+" in the top right, choose "New repository", or go directly to github.com/new.

-
Set the repo info:
- Repository name: name the repo, e.g.
nibaba. - Public/Private: must select
Public, otherwise the images can't be accessed externally. - Click "Create repository".

- Repository name: name the repo, e.g.
-
Repo created successfully.

-
【Critical pit-avoidance】Initialize the repo. A newly created empty repo can't be used directly — Story-Writer will error. We must create a file in it to initialize. The simplest way is to create a
README.md.- Click "creating a new file" or "Add a README file" on the page.

- The filename defaults to
README.md— no need to change. Click "Commit changes..." top right, then click "Commit changes" again in the popup.

-
Initialization complete. Note: the repo's default branch is now
main.
Step 4: Finish Configuration in Story-Writer
Now back to Story-Writer's githubimg config screen, fill in the info you've prepared.

- token: paste the Token you just generated on GitHub (usually starts with
ghp_). - Repo: fill in your repo name, e.g.
nibaba. - Filename generation rule: recommend
/img/{{filename}}— all images will go into theimgdirectory in the repo, easier to manage. Avoid Chinese paths. - 【Critical pit-avoidance】Corresponding branch: change the default
mastertomain, matching the branch name you see on GitHub.
Step 5: Common Issues & Fixes
If you hit errors during config or testing, 99% of the time it's one of these two causes:
-
Error 1: Repo not initialized (409 Conflict Error) If you skipped repo initialization, you'll see a
409error during testing:{"path":"/repos/apan-tony/nibaba/git/refs/heads","request":{"dataType":"json"},"error":409} Fix: go back to GitHub, follow Step 3 to create a
 README.mdin the repo. -
Error 2: Branch name mismatch If your branch is
mainbut you filledmasterin Story-Writer, you'll see this error: Fix: in Story-Writer's
 githubimgconfig, change "Corresponding branch" frommastertomain.
Step 6: Activate & Test the Image Host
-
Once config is clean, go back to "Bind" page, check
githubimgto make it the current default image host.
-
Close settings and return to the main editor view.

-
Test paste-upload: take any screenshot, then in Story-Writer's editor press
Ctrl+V(orCmd+V) to paste. If the image link auto-converts to araw.githubusercontent.comURL — congrats, image hosting is configured!
4. The Real Deal: One-Click Bulk Migration
Everything's ready — let's execute the final conversion.
Step 1: Find the "Image Host Transfer" Feature
-
First, paste the full Markdown you copied from Yuque (or wherever) — the one with the old image links — into Story-Writer's editor.
-
In the editor's top menu bar, find and click "Image Host Transfer".

【Tip】 If you don't see this menu bar, you may be in "tab mode". Click "Toggle tab mode" in the top left.

Once toggled, you should see the "Image Host Transfer" button on the right.

Step 2: Execute the Conversion
We'll use this snippet with Yuque image links (cdn.nlark.com) as an example:

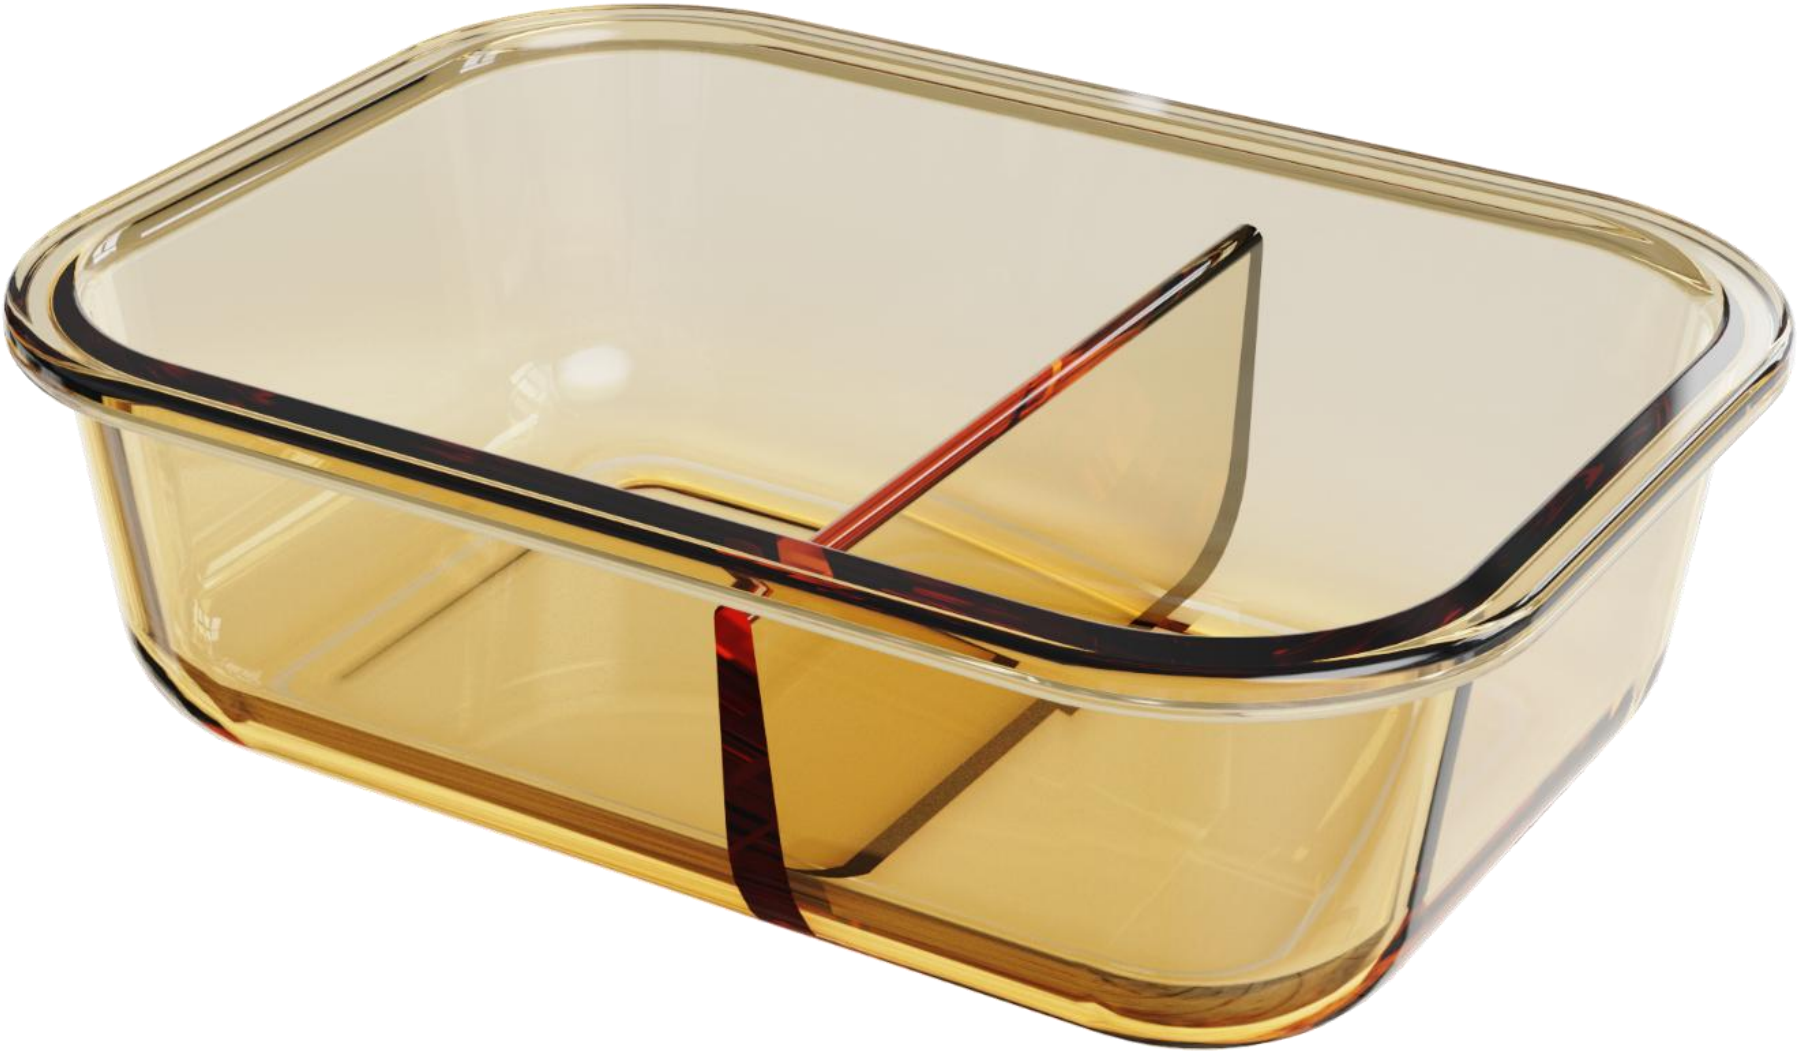
<font style="color:#FF0000;">Product code HY-001</font>
<font style="color:#FF0000;">Product name: Rectangular glass food container (2 compartments) (1040ML)</font>
<font style="color:#FF0000;">Capacity: 1040ML</font>

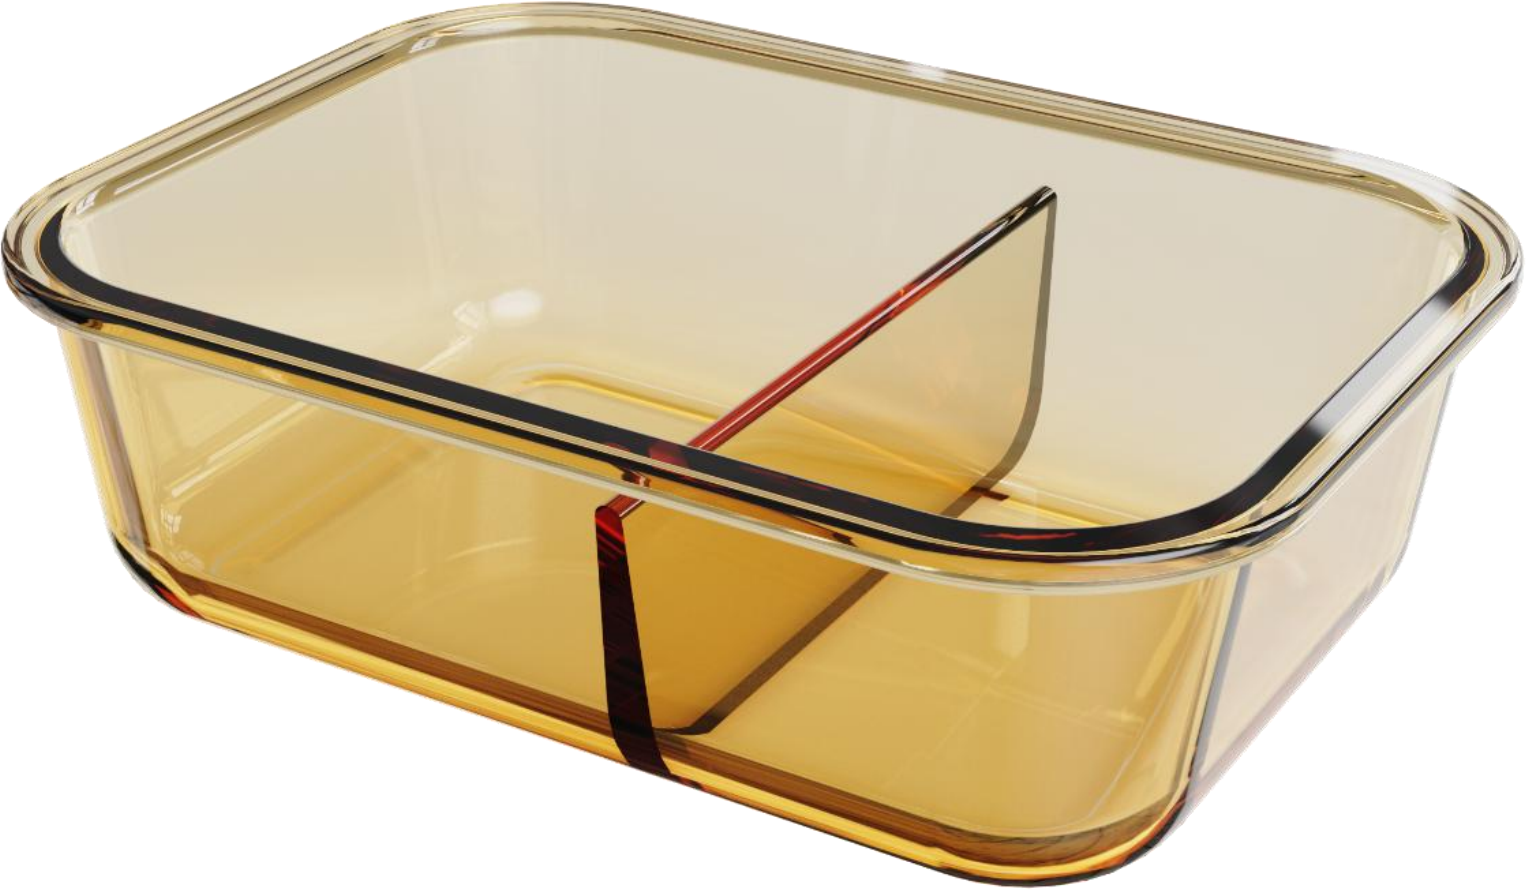
<font style="color:#FF0000;">Product code HY-003</font>
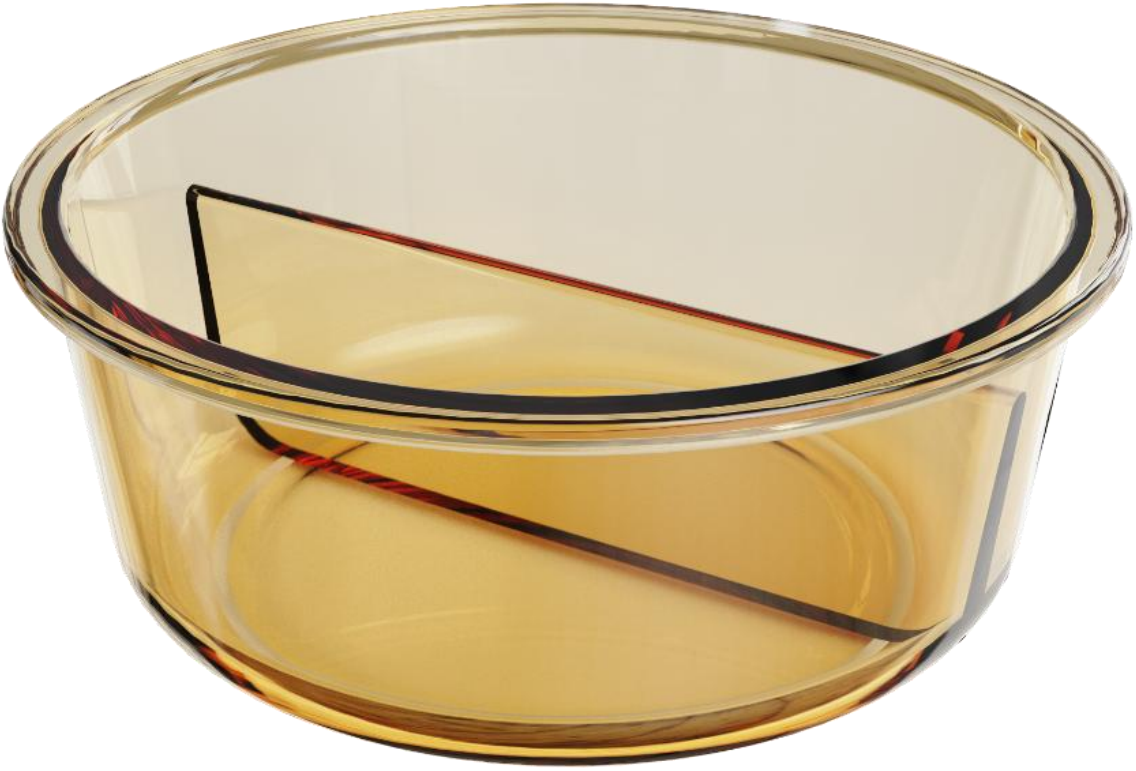
<font style="color:#FF0000;">Product code HY-004</font>
<font style="color:#FF0000;">Product name: Round glass food container (2 compartments) (960ML)</font>
<font style="color:#FF0000;">Capacity: 960ML</font>
-
Paste this into Story-Writer, click "Image Host Transfer".

-
In the "Network Image Address Conversion" popup, check "Select all" in the top right, then click "Convert" at the bottom. The "Converted address" column is empty for now.

-
Wait patiently. Story-Writer will start downloading the original images and uploading them to your GitHub repo — the popup shows "Processing...". Don't do anything during this process.

Step 3: Verify the Results
-
Once conversion completes, the "Converted address" column fills in with new GitHub URLs. Click "Confirm".

-
Back in the editor, you'll see every image link in the body has been successfully replaced!

The converted content looks like this — image links now point to stable, hotlink-free GitHub URLs:
<font style="color:#FF0000;">Product code HY-001</font>
<font style="color:#FF0000;">Product name: Rectangular glass food container (2 compartments) (1040ML)</font>
<font style="color:#FF0000;">Capacity: 1040ML</font>

<font style="color:#FF0000;">Product code HY-003</font>
<font style="color:#FF0000;">Product code HY-004</font>
<font style="color:#FF0000;">Product name: Round glass food container (2 compartments) (960ML)</font>
<font style="color:#FF0000;">Capacity: 960ML</font>
That's it — you've migrated every image to your own image host. This polished Markdown "raw material" is now safe to hand to AI for further polishing, or to publish directly to your site and blog.